Migrate Website to Torchbyte – How to Move Your Site Without Downtime
If you plan to migrate website to Torchbyte, the main concern is usually simple: how do you move everything without breaking the site or losing visitors? The good news is that with a clear checklist, proper backups and careful DNS changes, you can complete the migration with zero or almost zero downtime.
In this guide we walk through each step required to safely migrate website to Torchbyte, from preparing backups on your old host, to testing your site on the new Torchbyte web hosting account and finally switching DNS when you are confident everything works.

Why Plan Your Torchbyte Website Migration Carefully?
Any hosting migration involves files, databases, DNS changes and sometimes email and SSL certificates. If you rush the process, your visitors may see errors, outdated content or warning messages. With a bit of planning you can avoid those issues and turn the move into a smooth technical upgrade instead of a stressful night.
The goal when you migrate website to Torchbyte is very clear: keep the old site online while the new copy is prepared and tested on Torchbyte, then switch traffic only when everything is ready. This is why we rely heavily on backups, staging tests and careful DNS timing.
If you are still choosing a hosting plan, you can read more about Torchbyte web hosting features on the Torchbyte web hosting page before starting the migration.
Step 1 – Prepare Your Old Hosting and Backups
Before you migrate, make sure the current version of your site is clean and backed up. This is your safety net in case anything goes wrong during the move.
- Update your CMS (for example WordPress), themes and plugins to stable versions.
- Remove old backups, unused plugins or test sites that you no longer need.
- Create a full backup of your files (usually the
public_htmlor site root). - Export your database using phpMyAdmin or the database tool provided by your host.
- Make a safe copy of configuration files such as
wp-config.phpor environment files.
Store these backups locally or on cloud storage. You will use them shortly to migrate website to Torchbyte, but you also want them in case you ever need to roll back.
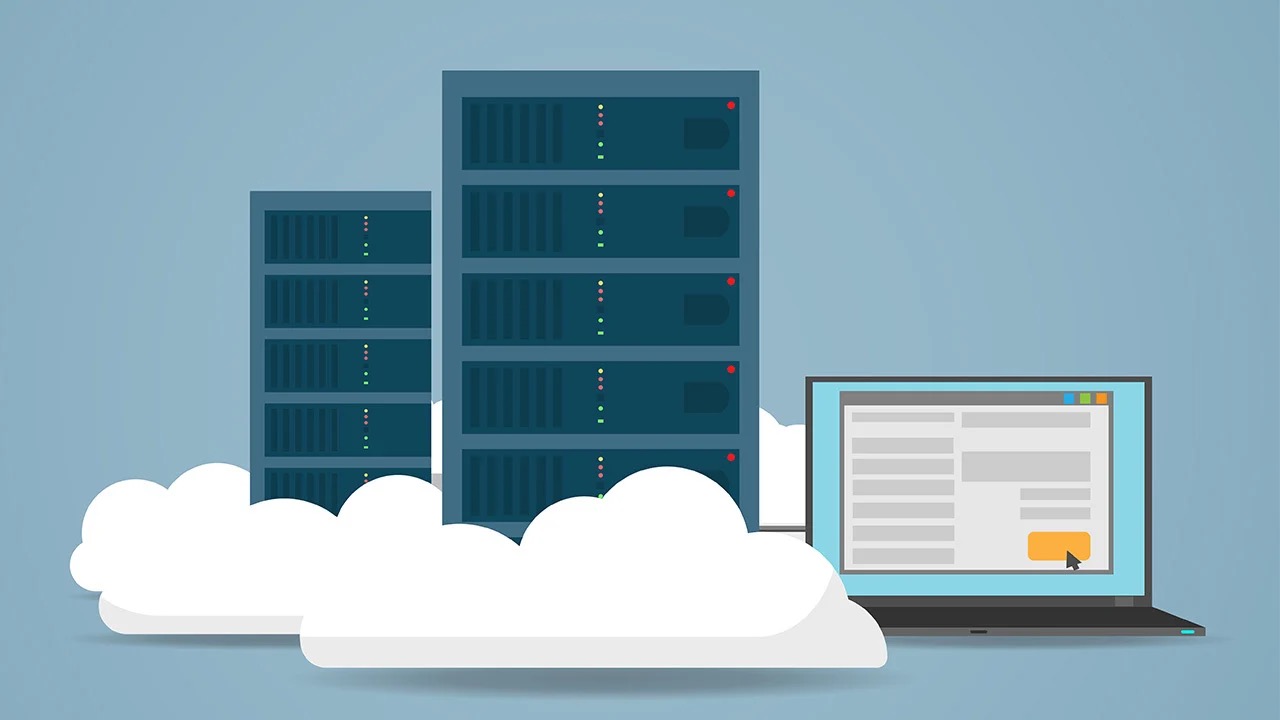
Step 2 – Set Up Your Torchbyte Web Hosting Account
Next, log in to your Torchbyte account and create or confirm your Torchbyte web hosting plan. From there you can access the Plesk control panel for your new hosting space.
Inside Plesk, create the domain or subdomain where you want to migrate website to Torchbyte. You can either point the same domain as your current live site, or temporarily use a subdomain or alternative domain for testing.

At this point it is also a good idea to:
- Create the databases you will need in Plesk and note down the credentials.
- Set up mailboxes if you plan to move email hosting as well.
- Check the PHP version and other settings so they match your current environment as closely as possible.
Step 3 – Upload Files and Databases to Torchbyte
Now it is time to actually copy your site. The idea is to build a complete mirror on Torchbyte before any DNS changes are made.
- Use FTP or the Plesk file manager to upload your site files to the new hosting account.
- Import your database backup into the new database you created in Plesk.
- Update configuration files (for example database name, user and password) to match the new environment.
- Check file permissions after upload, especially for upload directories and cache folders.
If you are moving a WordPress site, you can also consult the official WordPress migration documentation for additional details and special cases.

Step 4 – Test Your Site Before You Migrate Live Traffic
Before you fully migrate website to Torchbyte, you should make sure the new copy works correctly. There are several ways to preview the site on the new server without changing DNS yet.
- Use a temporary URL or preview domain provided inside Plesk, if available.
- Edit your local hosts file so that your computer resolves the domain to the new Torchbyte IP.
- Test both the front-end pages and the admin area (for example the WordPress Dashboard).
Look for missing images, broken links, plugin errors or performance issues. Fix anything that appears here, while the live version is still running on the old host.
Step 5 – Switch DNS and Fully Migrate Website to Torchbyte
When everything looks correct on the new hosting, you are ready for the final step: pointing your domain to the Torchbyte servers. This is the moment where planning pays off, because good DNS timing keeps downtime close to zero.
- Lower the DNS TTL (time to live) to a smaller value, such as 300 seconds, at least a few hours before the change.
- Update the A record of your domain to the new Torchbyte IP address.
- If you use an external DNS provider, such as Cloudflare DNS , make the change there instead of at your registrar.
- Wait for propagation and periodically clear your browser and local DNS cache while testing.
During this short window, some visitors may still hit the old server while others reach the new one. This is normal, and it is one reason we recommend not changing site content during the actual DNS switch.
Step 6 – Monitor, Roll Back If Needed and Clean Up
After the DNS change, keep a close eye on logs, error pages and analytics. If you see unexpected issues immediately after you migrate website to Torchbyte, you can temporarily point DNS back to the old host while you investigate, thanks to the backups you created earlier.
Once you are confident everything runs smoothly on Tor